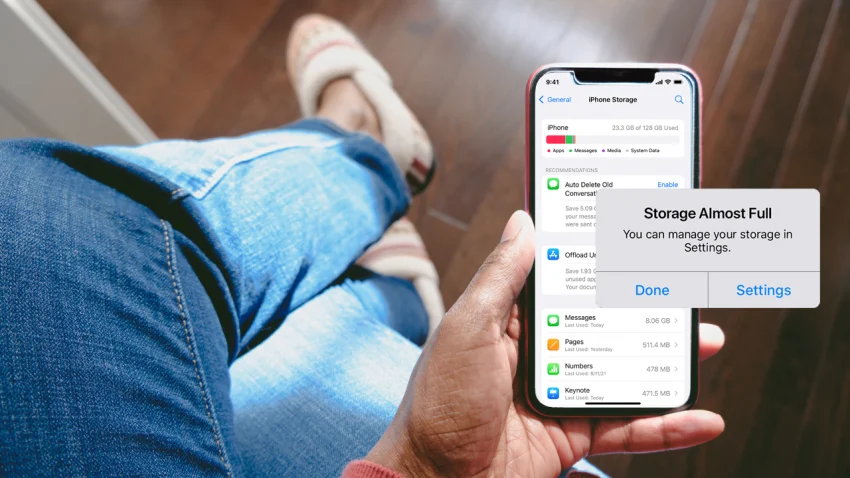
It’s possible that you won’t realize how much space is left on your iOS device until you run into problems trying to install new apps or update your operating system. Suddenly, everything on your phone appears valuable, and you start researching the price of a phone with extra capacity.
This is particularly alluring because Apple is about to release new phones and an improved iOS version. We have some tips on the best ways to choose what to keep and what to delete before you compare your bank account to the amount of space you still have on your phone.
Follow these simple steps and you’ll be on your way to a less overloaded, more organized iPhone or iPad.
Verify Your Entire Usage
First, determine your available space. Navigate to [Device] Storage under Settings > General. A color-coded bar chart showing how much space different app categories are eating up on your device is located at the top.

You don’t have to have a deep understanding of these figures. Generally speaking, you’ll need up to 10GB of free space to update iOS. Give yourself at least 2GB of free space if all you want is enough room to snap fresh pictures and install new programs without worrying about running into problems.
It should be noted that adding your available space and used space will not equal the overall storage capacity of your phone because the operating system takes up space in this calculation.
Identify the Apps Using Up the Most Room
You’ll get a list of all of your apps arranged by space usage if you keep scrolling down under Storage.
After selecting any program, a new page displays the consumption in two sections: the space utilized by the app’s data and documents, and the space the app itself takes up (shown in light gray at the top). For instance, my phone’s downloaded Spotify playlists and podcasts total 1.59GB, while my texts currently take up 4.3 GB.
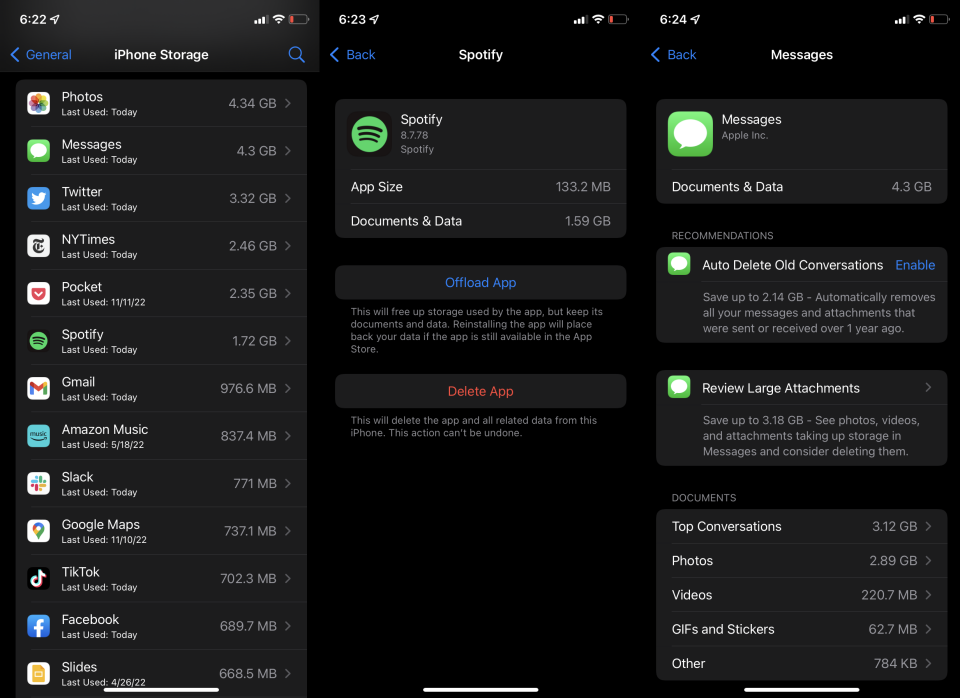
This information can sometimes help you realize that the items you store in an app take up more space than the program itself. Here, you can see that the items occupying the greatest area are the photos and texts.
Get Rid of Them
Apple allows you to offload apps if you wish to temporarily disable them without erasing their settings, such as when you need to make room for an iOS upgrade. They will stay on your home screen, but to access them again, you will have to press to re-download. Locate the app in the list of stored files, tap it, and choose Offload App.
Apps that you don’t use frequently can also be programmed to delete automatically. Turn it on by going to Settings > App Store > Offload Unused Apps.
Verify the Use of Your Photos and Videos
Let’s start by addressing the Photos app since it frequently uses a lot more space than users think. Look for Photos under Settings > General > [device] Storage to find out how much space it’s using up. You might think about moving pictures and videos to a cloud storage service if you have more space than 1GB here so you can remove them from your device.
Google Photos is a simple choice in this case if you have a Google account. Get the app, log in, and then hit the account symbol in the upper right corner. Turn on Google Photos Sync by selecting Settings > Back Up & Sync. As soon as you grant Google Photos permission to view Photos (Settings > Google Photos > Photos > All Photos), every picture you take on your device will be automatically backed up to Google Photos and accessible from any device or location when you’re online.
After your iPhone images have been uploaded to the cloud provider of your choice, make sure everything is there before removing them from the images app. If you trust that choice, Google Photos will even remove them for you when they are uploaded. Select Albums > Recently Deleted after that. Select is tapped, followed by Delete All at the bottom. Your iOS device keeps deleted photos for 30 days in case you decide to change your mind, so skipping that final step will prevent you from freeing up any space for a month.
Additionally, you have the option to store lower-resolution pictures on your phone and preserve the full-resolution ones on iCloud. Make sure the option to “Optimize iPhone Storage” has a checkmark next to it by going to Settings > Photos. (You must have iCloud Photos activated.)
Empty the Cache in Your Browser
The Safari web browser’s cache, as well as the caches of any other mobile web browsers you use, is another piece of garbage you should remove from your iPhone or iPad. Navigate to Settings > Safari for Safari. Click on Delete Website Data and History.
Open the Chrome app on iOS, tap the three dots in the lower-right corner, and choose History. Next, select Clear Browsing Data to remove all browsing data, or Edit to remove only certain websites. Additionally, you may go to Settings > Privacy > Clear Browsing Data to erase your browsing history, cookies, site data, cached files and photos, passwords that you’ve saved, autofill information, and more—all at once. See How to Clear Your Cache on Any Browser for further information.